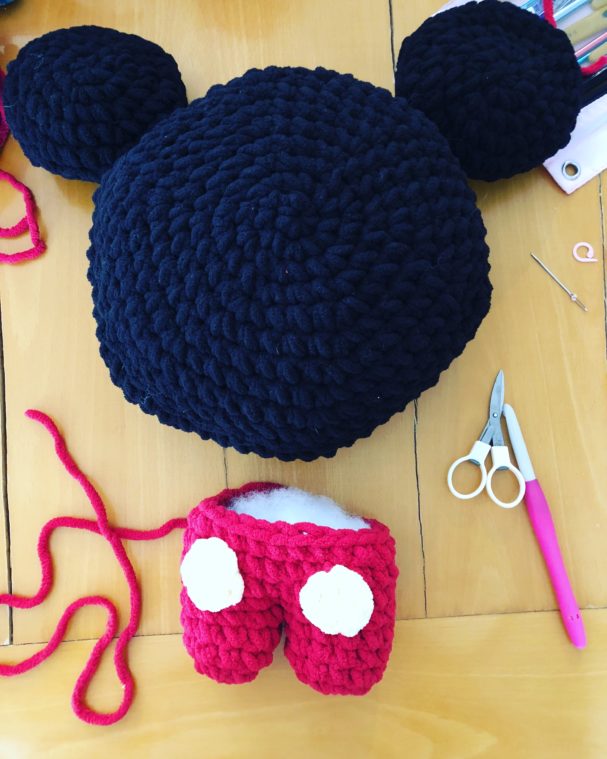
Birthday Party for one of my son’s besties from daycare in 3 days. Mickey themed? No problem! Making a Mickey Mouse Pillow as a gift!
Pretty sure once my son sees this I’ll be needing to make another one haha. This is a super fun and pretty easy project, Can be completed in an evening’s work after kiddo goes to sleep 🙂
What you’ll need
Yarn
BERNAT Blanket, Super Bulky, 100% Polyester 10.5oz/300g – approx. 220yds/201m
- Coal – COLOR A
- Cranberry – COLOR B
- Baby Yellow – COLOR C very small amounts
Measurements
Pillow measures 14½” tall and 15½” at the widest point
Supplies
- Crochet Hook L/8mm
- Stitch Markers
- 100% polyester Fiberfill for filling
Abbreviations
St – Stitch
Sc – Single Crochet
rep – repeat
rnd – Round
Head
We will be using the sliding loop aka magic ring. Check out my tutorial on how to create a magic ring:
http://www.sahrit.com/to-create-magic-ring/
COLOR A. The Head is worked in a continuous round.
Begin with sliding loop. Ch 1.
Rnd 1: 6 sc in ring. (pull tail of yarn) (6 sts)
Rnd 2: 2 sc in each of next 6 sts. (12 sts)
Rnd 3: *2 sc in next st, 1 sc in next st, rep from * 5 more times. (18 sts)
Rnd 4: *2 sc in next st, 1 sc in each of next 2 sts, rep from * 5 more times. (24 sts)
Rnd 5: *2 sc in next st, 1 sc in each of next 3 sts, rep from * 5 more times. (30 sts)
Rnd 6: *2 sc in next st, 1 sc in each of next 4 sts, rep from * 5 more times. (36 sts)
Rnd 7: *2 sc in next st, 1 sc in each of next 5 sts, rep from * 5 more times. (42 sts)
Rnd 8: *2 sc in next st, 1 sc in each of next 6 sts, rep from * 5 more times. (48 sts)
Rnd 9: *2 sc in next st, 1 sc in each of next 7 sts, rep from * 5 more times. (54 sts)
Rnd 10: *2 sc in next st, 1 sc in each of next 8 sts, rep from * 5 more times. (60 sts)
Rnd 11 – Rnd 12: 1 sc in each of next 60 sts. (60 sts)
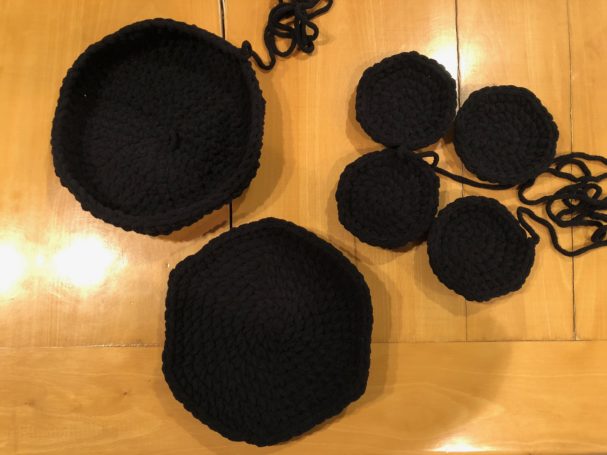
Fasten off; leaving a long tail for later. Rep rnd 1 – rnd 10 and fasten off; secure and weave in ends.
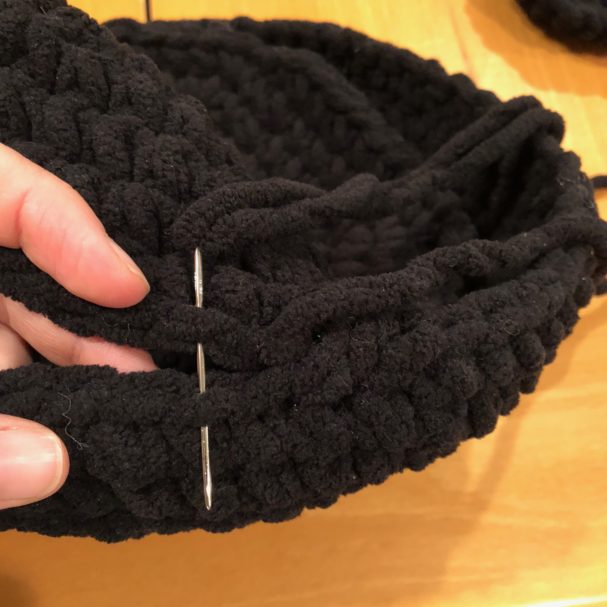
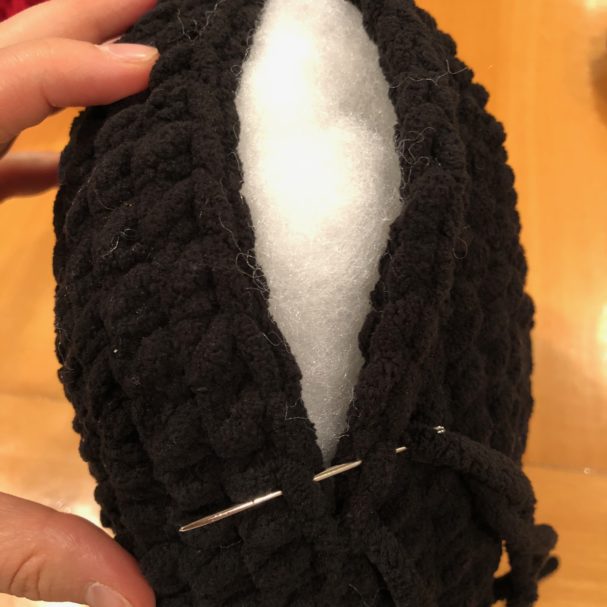
Sew the flat piece to the first piece and leave room to stuff the Head. Once finished stuffing, continue sewing the pieces together.
Ears (Make 4)
COLOR A. The Ears are worked in a continuous round.
Begin with sliding loop. Ch 1.
Rnd 1: 6 sc in ring. (pull tail of yarn) (6 sts)
Rnd 2: 2 sc in each of next 6 sts. (12 sts)
Rnd 3: *2 sc in next st, 1 sc in next st, rep from * 5 more times. (18 sts)
Rnd 4: *2 sc in next st, 1 sc in each of next 2 sts, rep from * 5 more times. (24 sts)
Rnd 5: *2 sc in next st, 1 sc in each of next 3 sts, rep from * 5 more times. (30 sts) Fasten off; leaving a long tail for later.
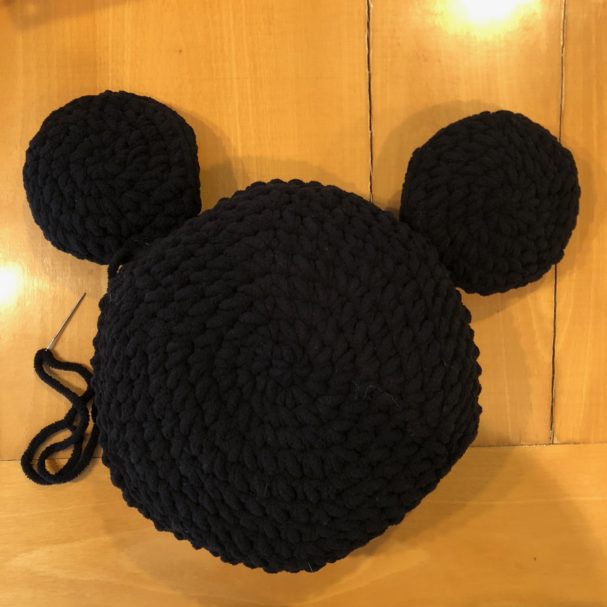
Sew 2 flat pieces together and then sew Ears to sides of Head.
Pants
COLOR B. Worked in a continuous round.
Begin with sliding loop. Ch 1.
Rnd 1: 6 sc in ring. (pull tail of yarn) (6 sts)
Rnd 2: 2 sc in each of next 6 sts. (12 sts)
Rnd 3 – Rnd 5: 1 sc in each of next 12 sts. (12 sts)
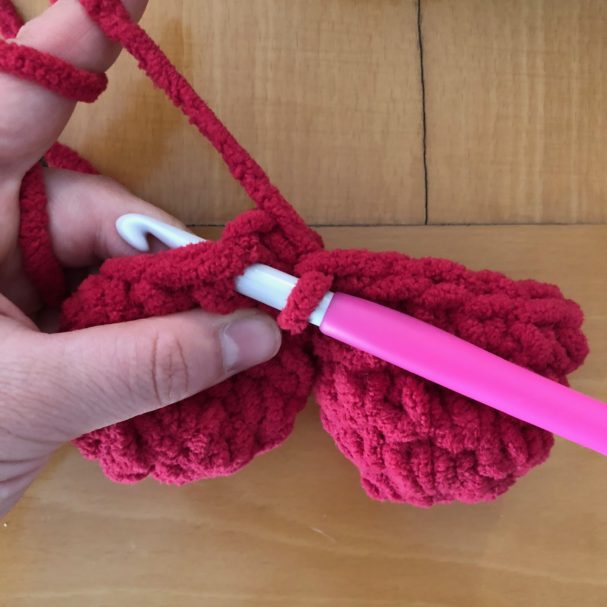
Fasten off Leg and rep Rnd 1 – 5 to create a second Leg. Without fastening off insert hook to 1st st on first leg.
Rnd 6: 1 sc in each of next 12 sts, continue to second leg, 1 sc in each of next 12 sts. (24 sts)
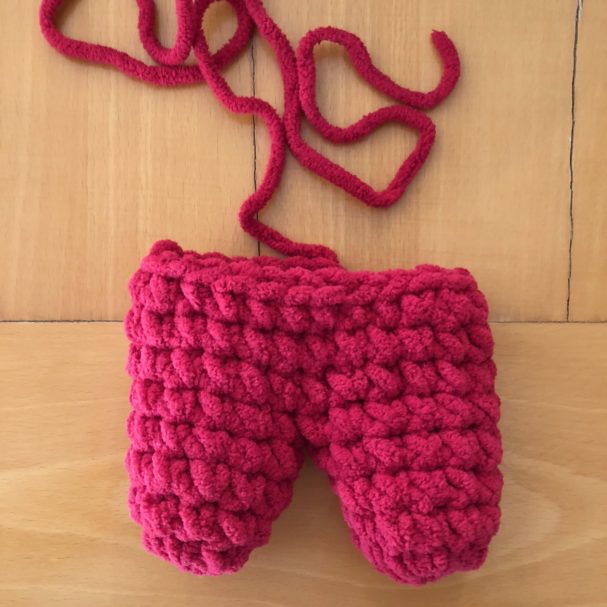
Rnd 7 – Rnd 9: 1 sc in each of next 24 sts. (24 sts)Fasten off; leaving a long tail for later.
With a tail of yarn from color B sew the gap together where the Legs joined.
Buttons (Make 2)
COLOR C.
Begin with sliding loop. Ch 1.
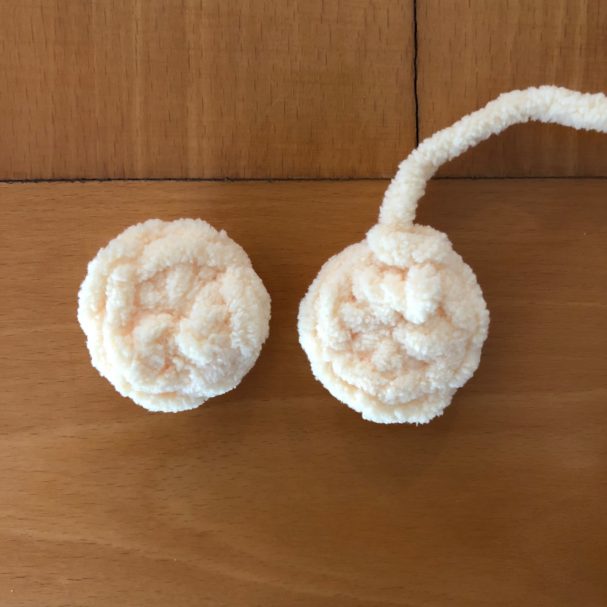
Rnd 1: 6 sc in ring. (pull tail of yarn), join with a Sl st to first st. (6 sts) Fasten off; leaving a long tail for later.
Sew the Buttons onto Pants between rnd 6 – rnd 8.
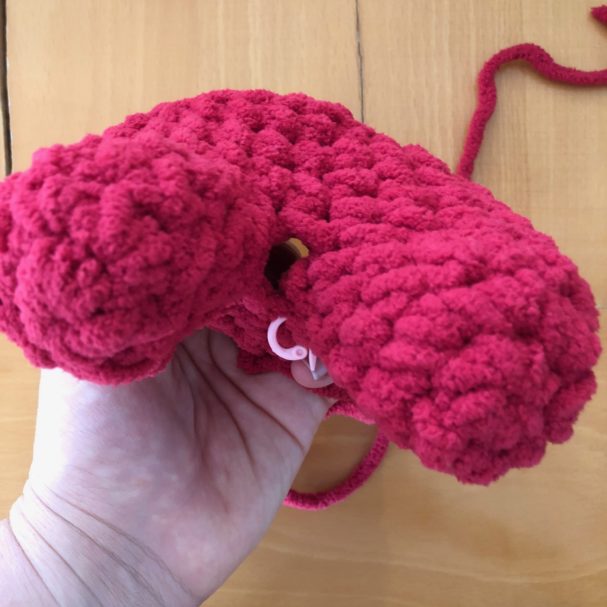
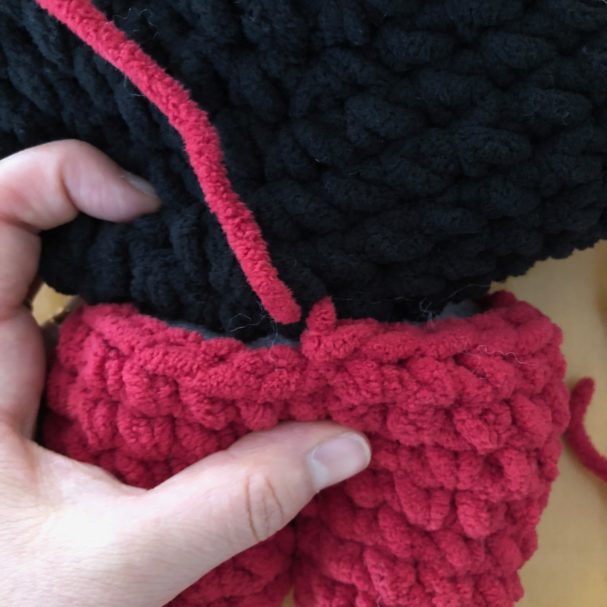
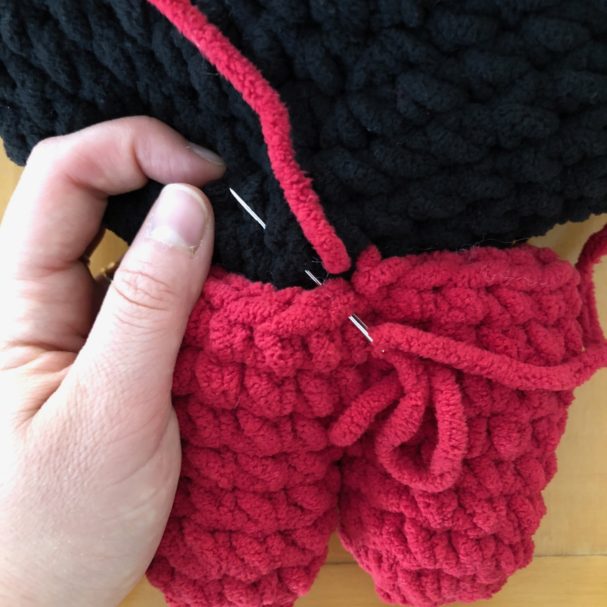
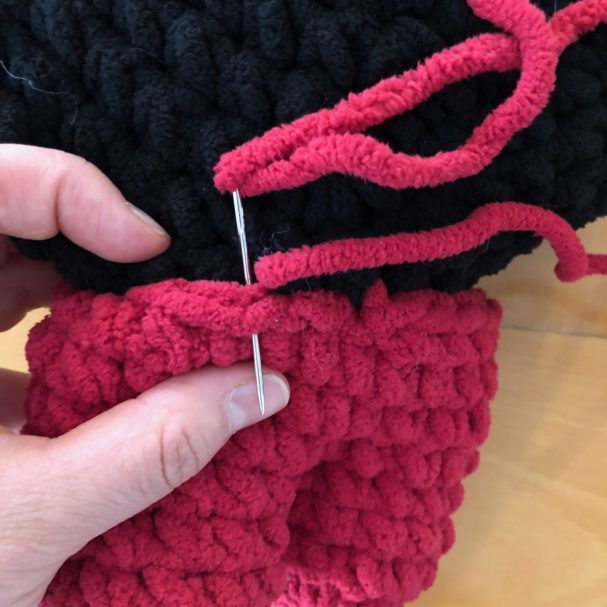
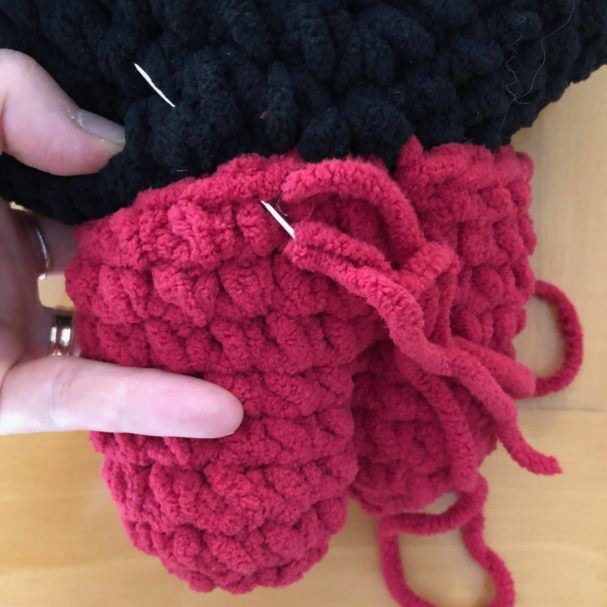
Stuff Pants and Sew to bottom of Head.
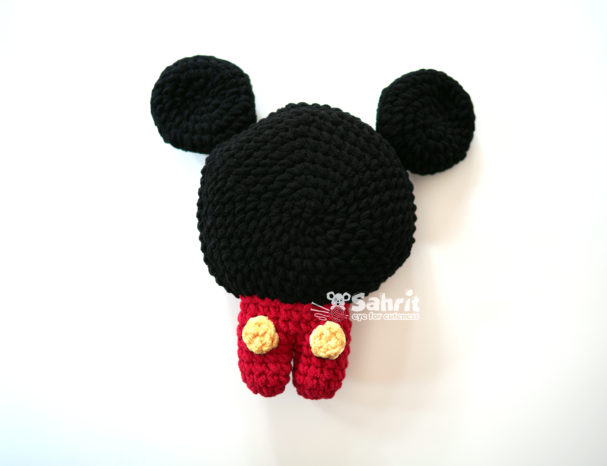
Your plushie/Pillow is ready! 😀
What do you think? Please comment and share how it turned out for you! 🙂
*You may NOT use this pattern, or the items produced following the pattern for commercial/retail purposes.
