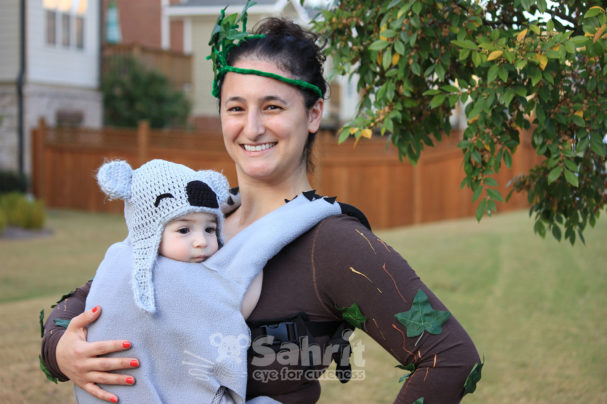
Oooooooh I’m so excited to share our Halloween costume! Our Koala Bear, Tree and Wildlife Watcher costume!
It’s been so much fun making and seeing it all put together is very fulfilling! Since it’s my son’s first Halloween I wanted something handmade but also didn’t want to go overboard since I’m still learning how to craft while being a mommy 🙂
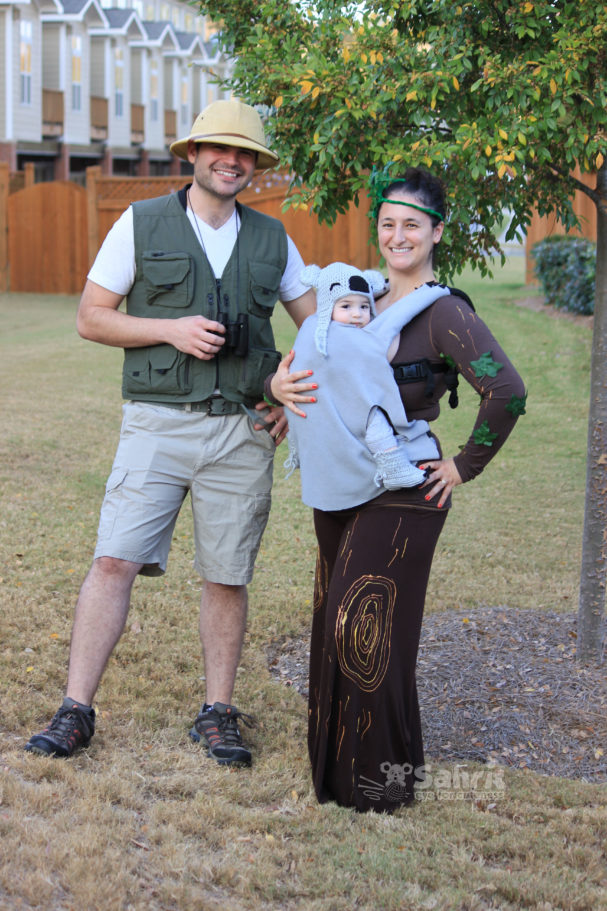
I was so inspired by some amazing family costumes I saw on the web and was sure I had to think of a family costume as well.
Thinking about my son that doesn’t walk yet, the carrier had to be in the costume.
For my hubby’s costume I went ahead and just bought the hat, vest and binoculars from Amazon.
For my son’s hat and booties I created a pattern for which you can grab here on Etsy or here on Craftsy.
The rest of the costume I captured the steps of how I made it.
If you are inspired by our costume or make the same please share your photos – we would love to see your take on it! 🙂
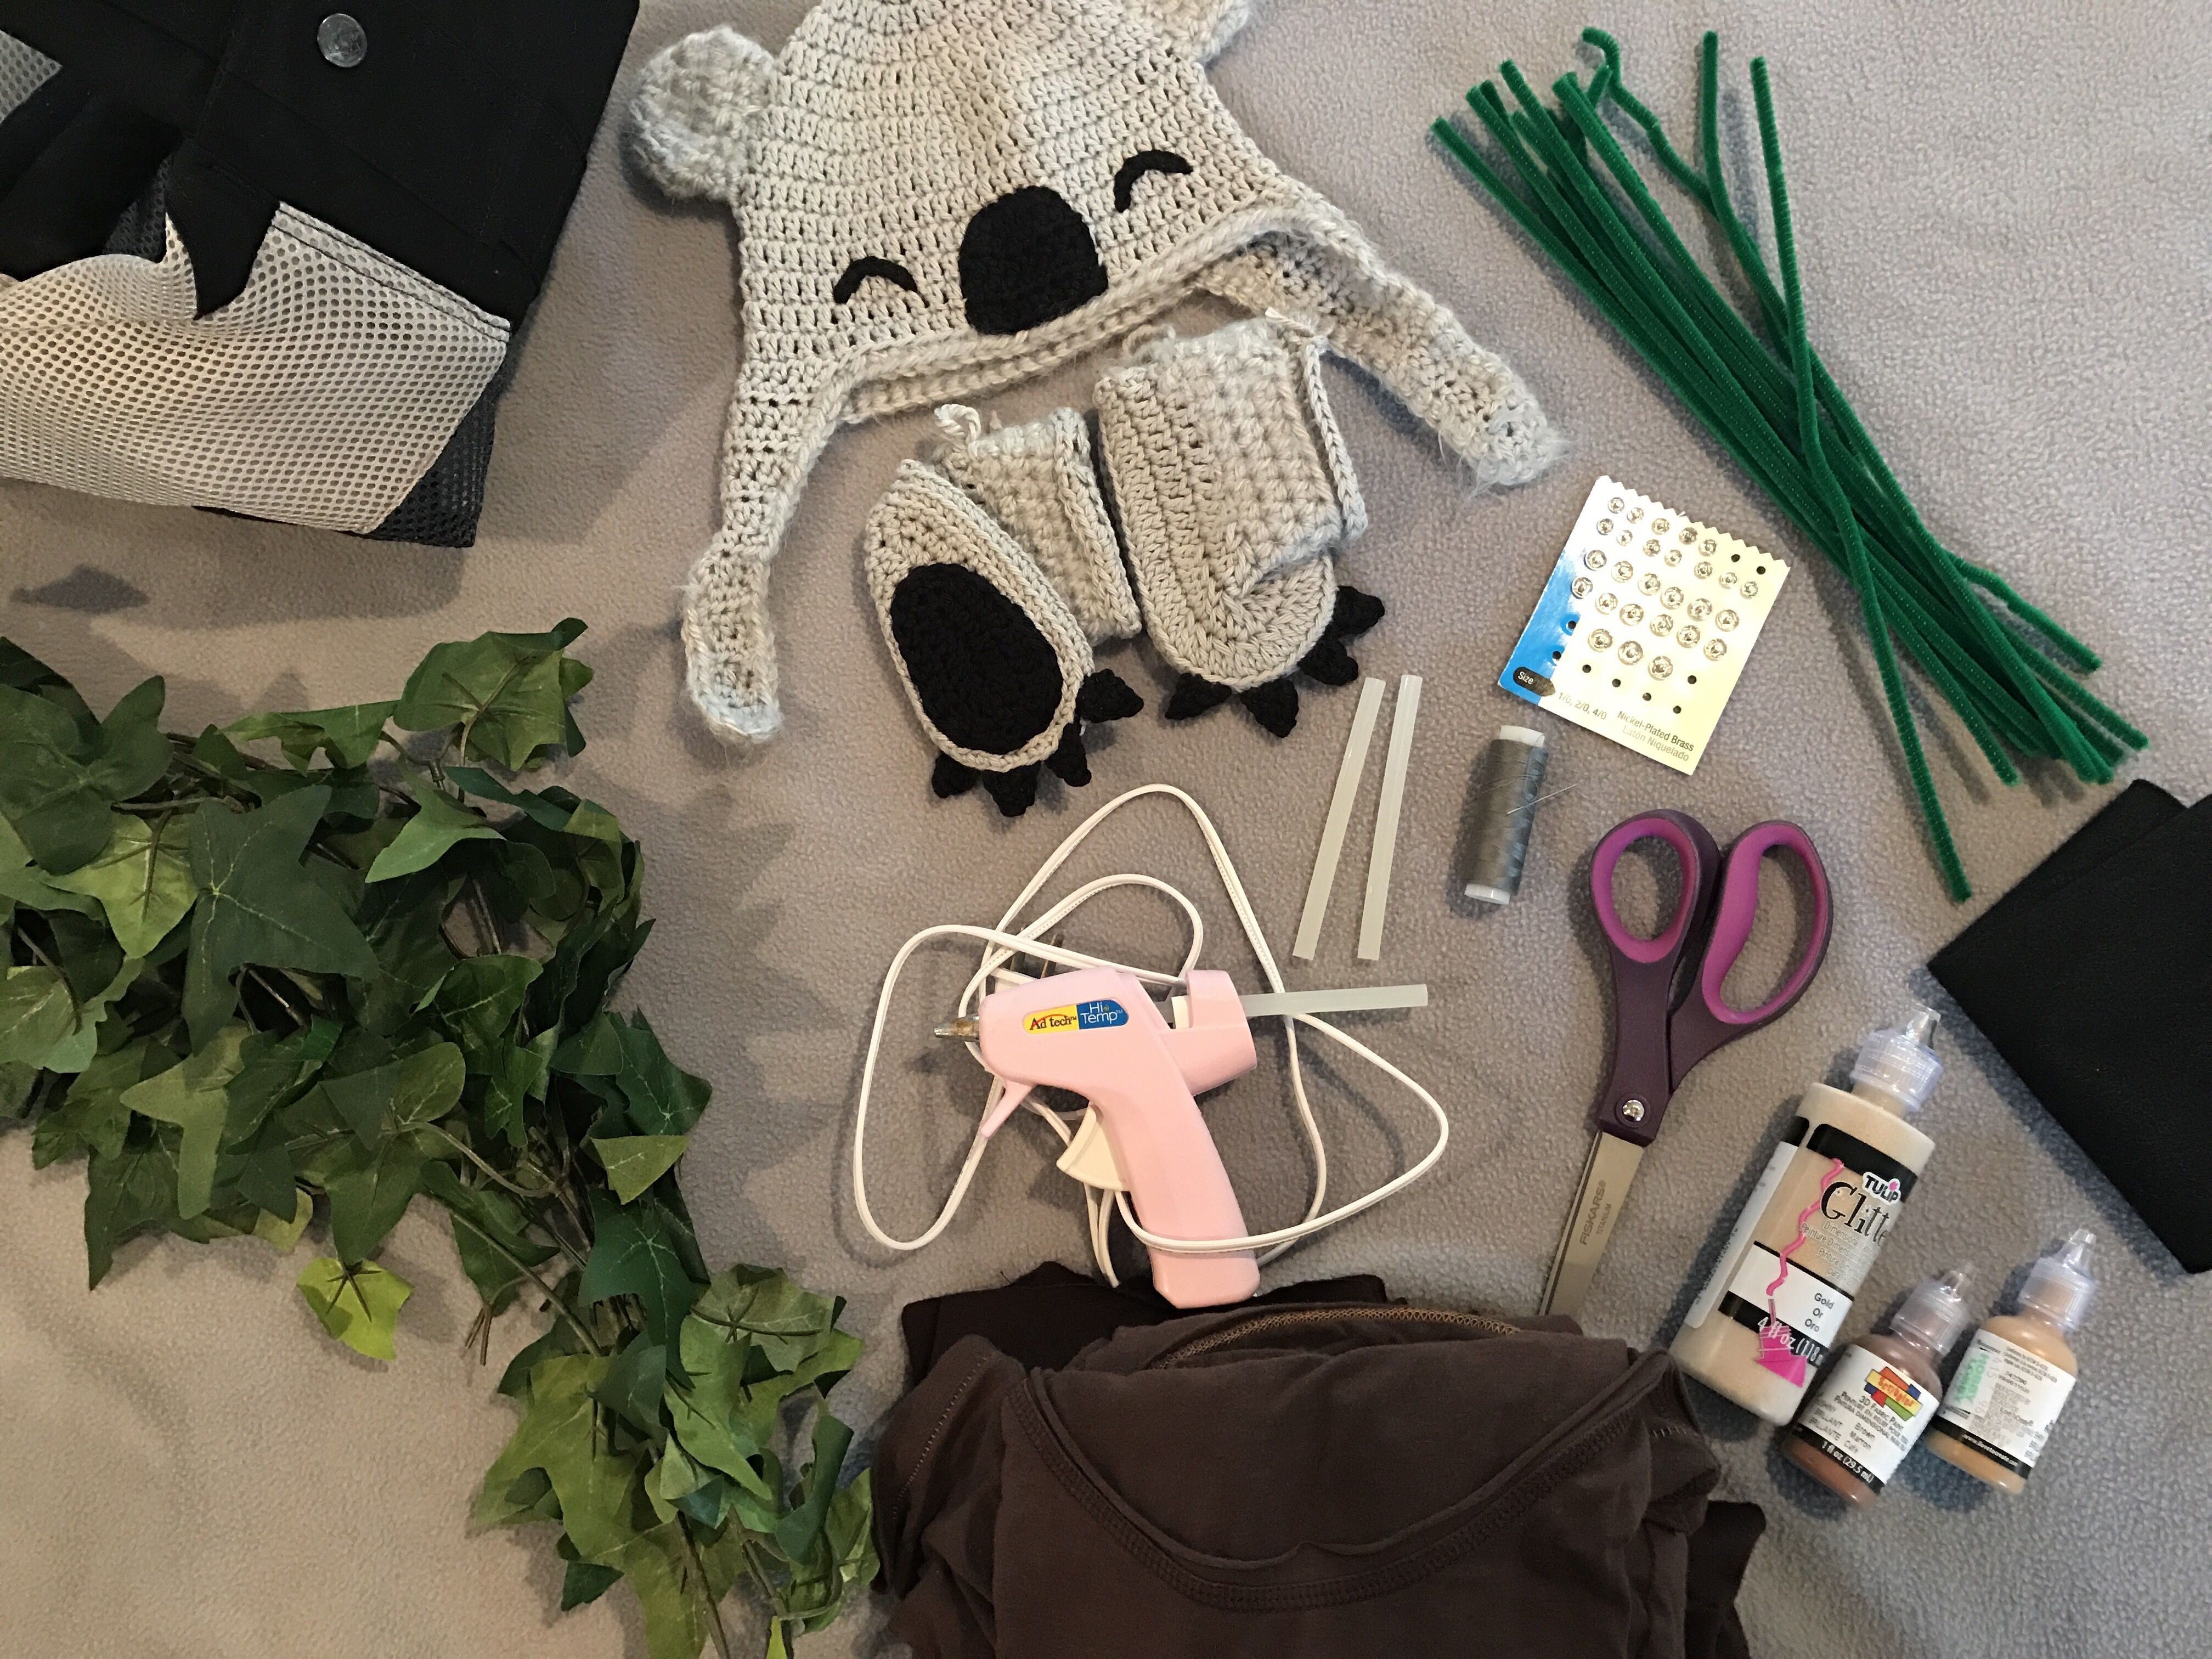
What you’ll need:
- Gray Fabric (I used Fleece) – 43″x26″
- Brown shirt and Long Pants – I got for $5 bucks each from Goodwill
- Baby Carrier – With Back Straps
- My Hat and Booties Crochet Pattern (You can also Just Use a Basic Gray Hat and Socks If you don’t know how to Crochet)
- Baby Pants should be Gray. (Since legs will be shown)
- Shirt Paint (I got two different Brown colors and a Gold Glitter)
- About 20 Plastic Leaves – Got at Hobby Lobby.
- Green Pipe Cleaners – about 11
- Snap Ons PLUS Grey thread and needle
- Glue Gun and a few Glue sticks
- Small amounts of Black Felt
- Scissors
- Sharpie – Forget to capture in Photo 🙂
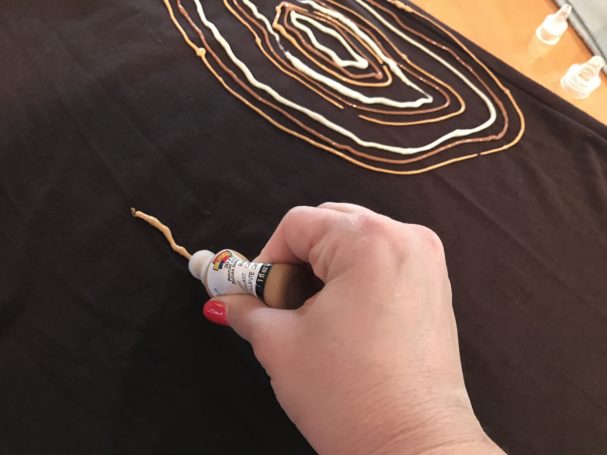
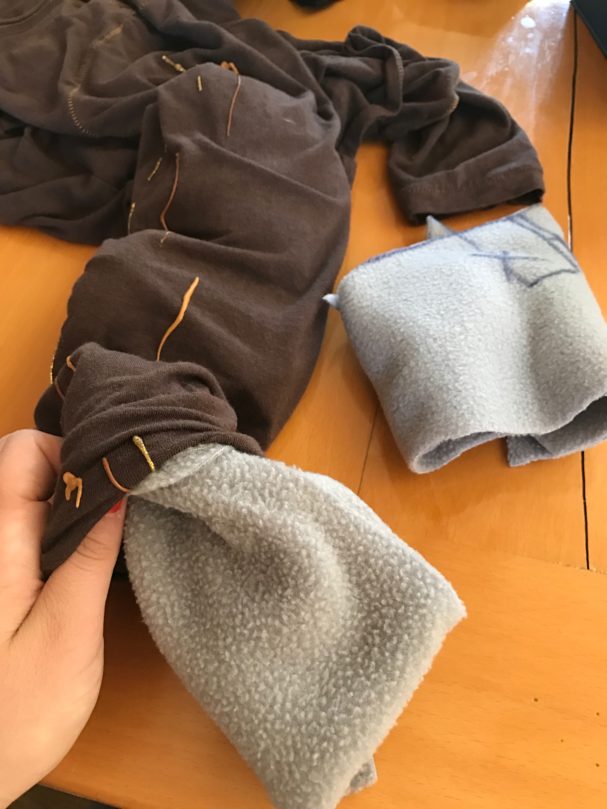
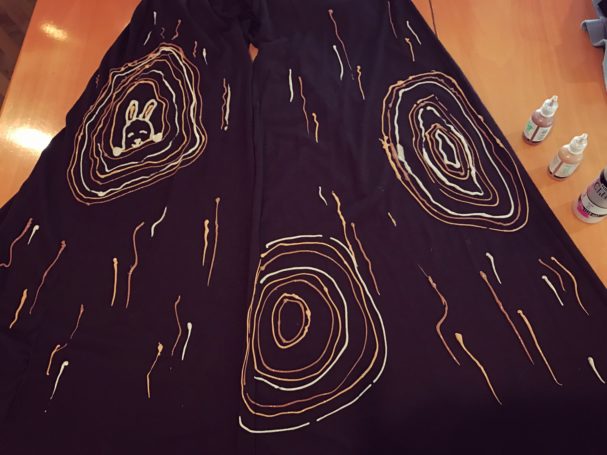
I started with my pants, shirt and the paint. I just made three circles with the dark brown and then painted around them with the lighter brown, then around again with the gold glitter. I added strokes of all three shades all over the pants and shirt’s sleeves.
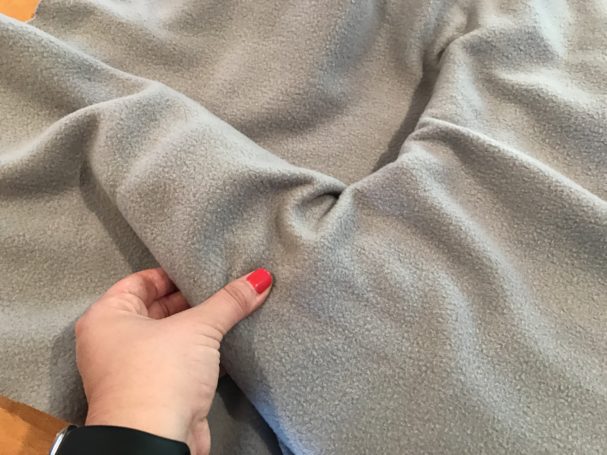
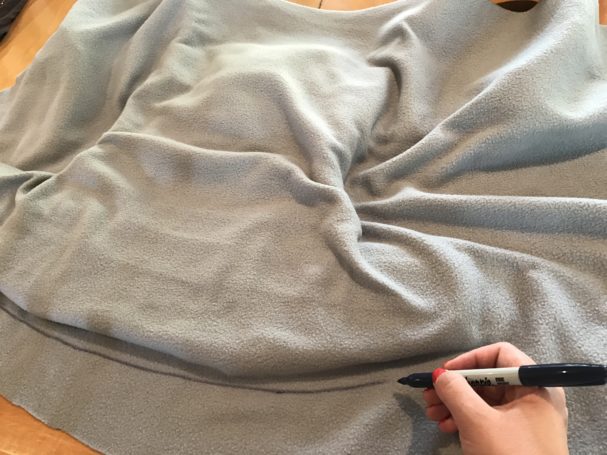
 While letting the pants dry (It took about half a day) I placed the whole piece of Gray Fabric over my Baby Carrier and started tucking in the fabric underneath it to make sure I have enough coverage (later that turned out as a good idea haha).
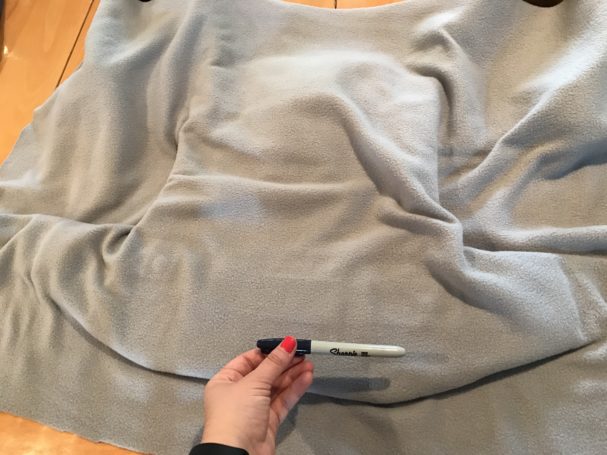
Take your Sharpie Pen and trace around (You don’t need to be exact).
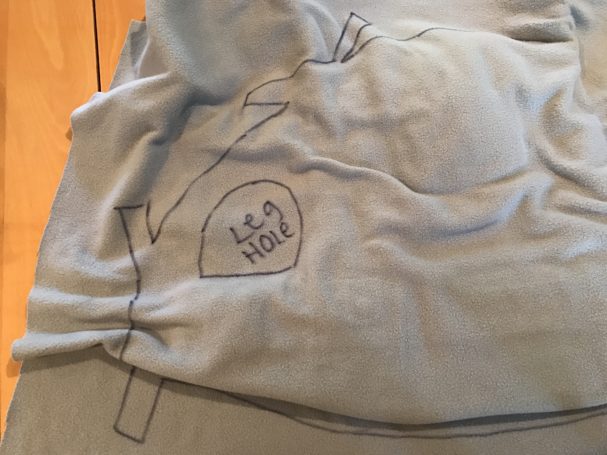
Make leg circles in the corners where the lower back belt and front Pouch meet (about an 1″ away). Trace little straps around each belt edge and also around the Carrier’s Shoulder Straps (We will sew the Snap Ones to these later).
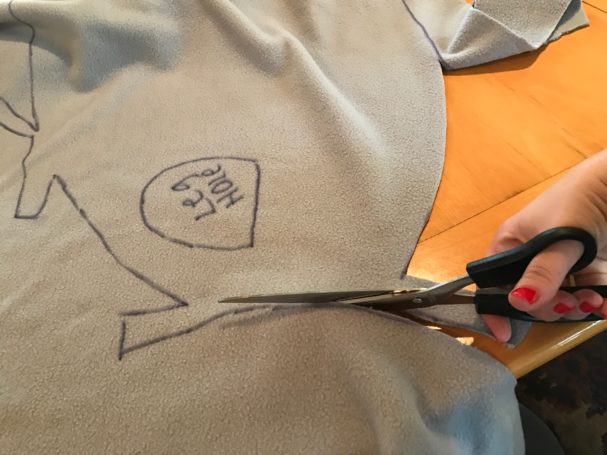
Now cut around the Traced lines and cut the leg holes out.
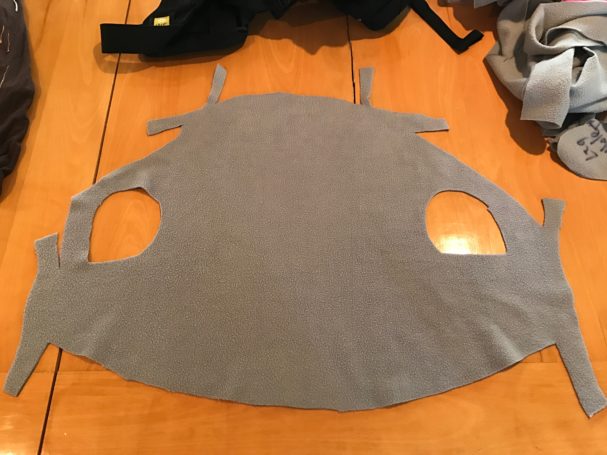
Here is my Carrier’s Koala Cover. It is not symmetrical at all haha but I needed this costume to be quick!
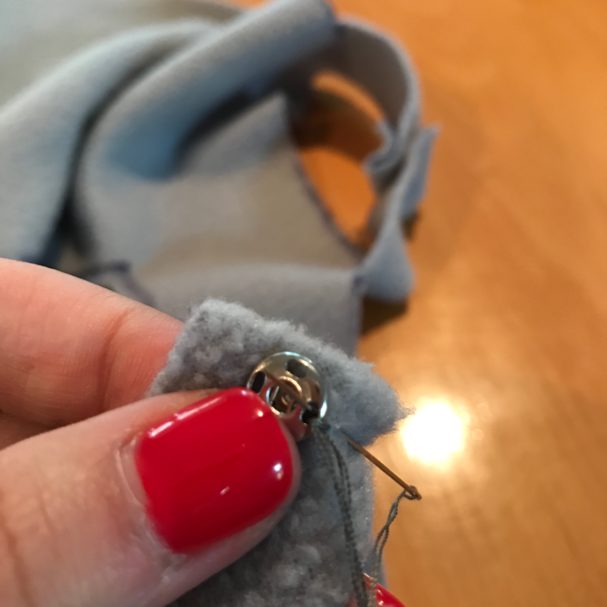
Start sewing the Snap ones to each of the Cover’s Straps.
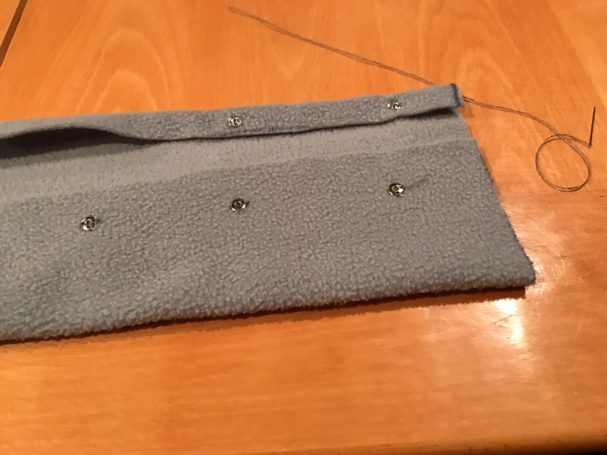
Time to cut the Shoulder Covers. Cut out of the Gray Fabric 2 pieces of 9.5″(width)x7.5″(height). Across the height, sew in the Snap ones. Only on one side I folded the edge.
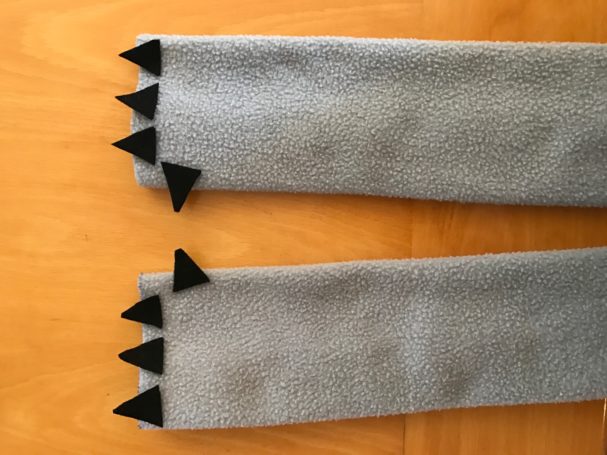
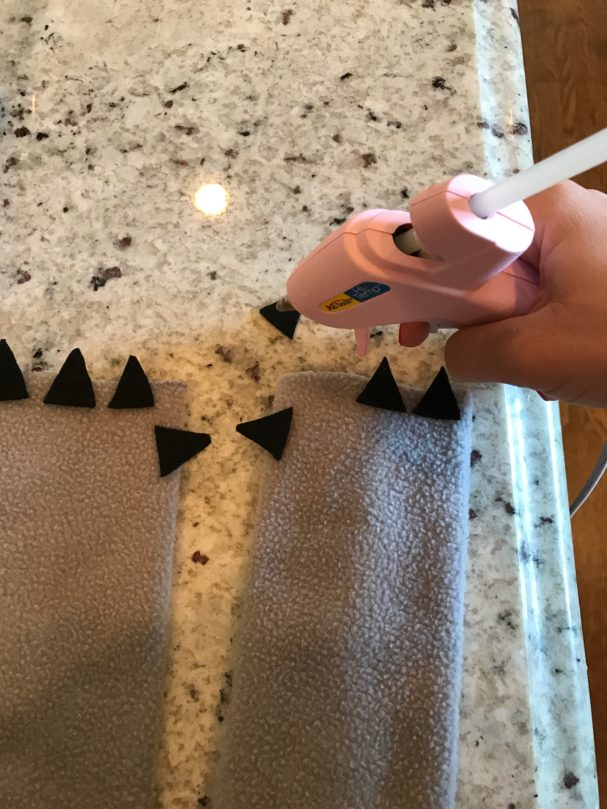
Cut out 8 triangles from the Black felt and Place on Straps Covers.
Use hot Glue to Place the triangles on.
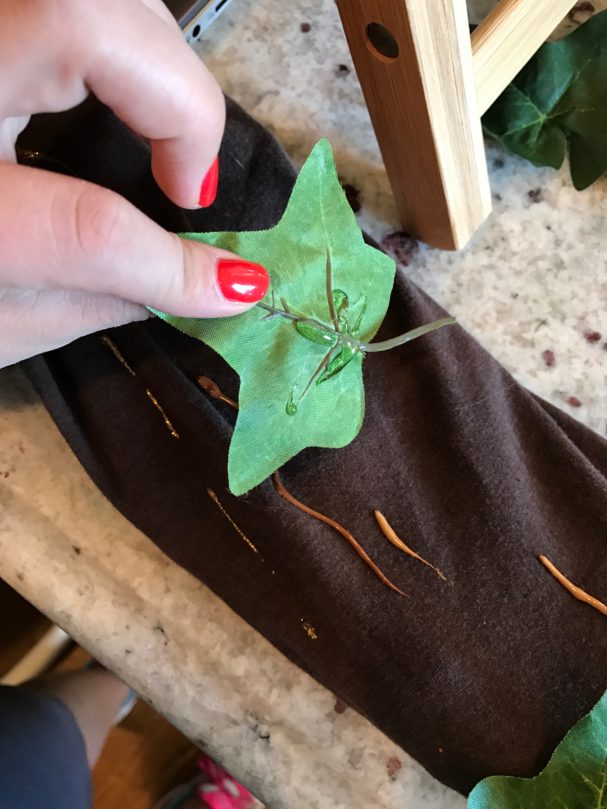
Once the Shirt was dry it was time to glue on the Plastic Leaves. I use the Fabric remains to stuff the sleeves so i don’t get glue on the other side by mistake.
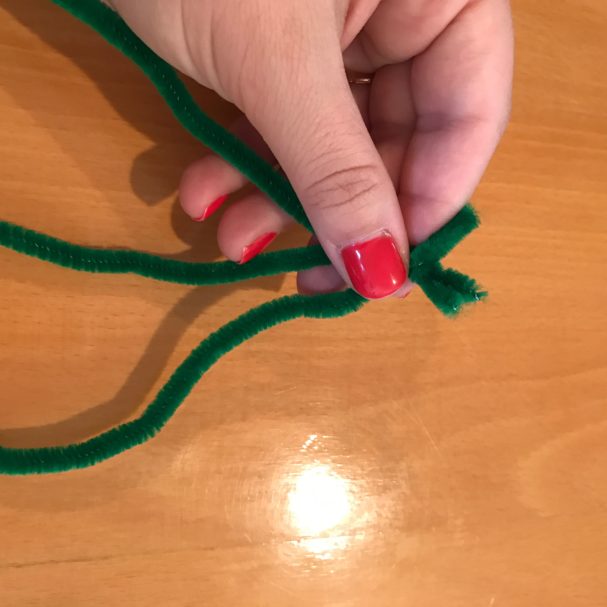
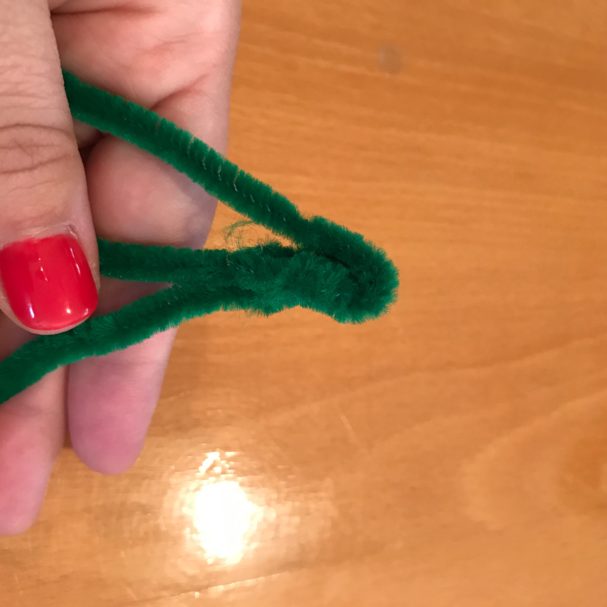
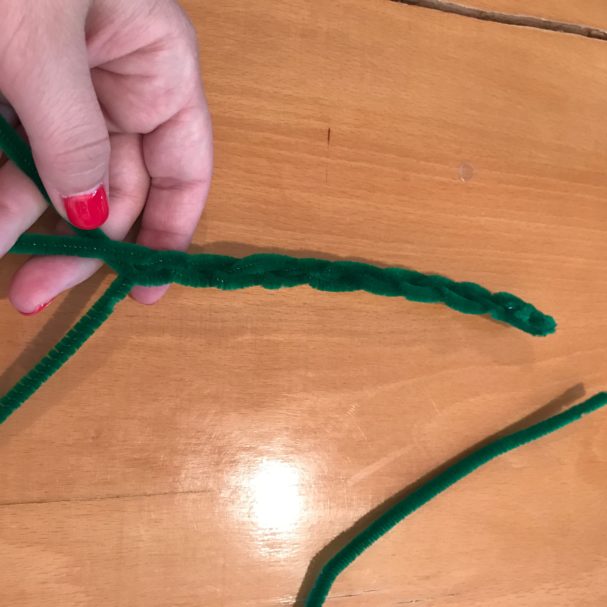
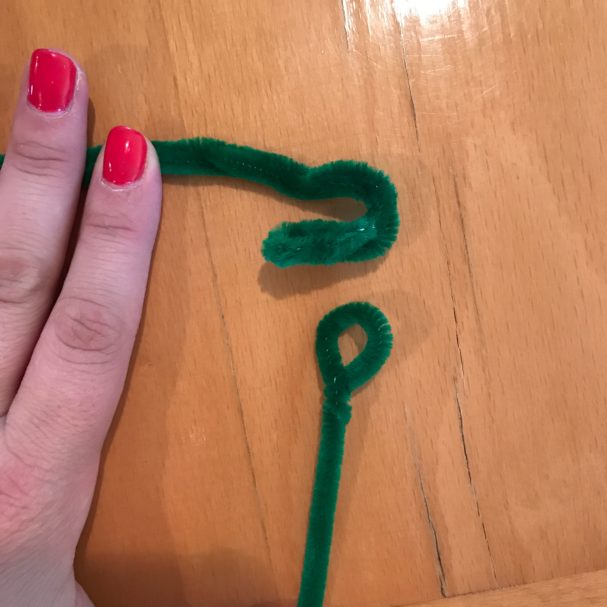
For the Headpiece I took 3 Pipe cleaners and twist the tops together.
Fold them to secure.
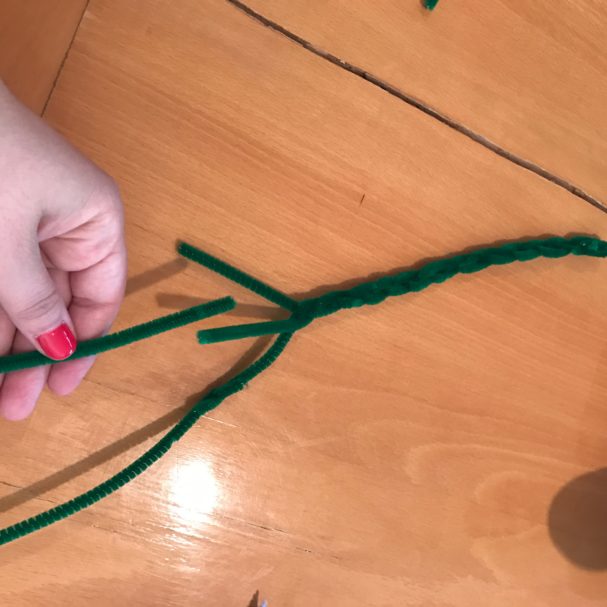
Braid them together.
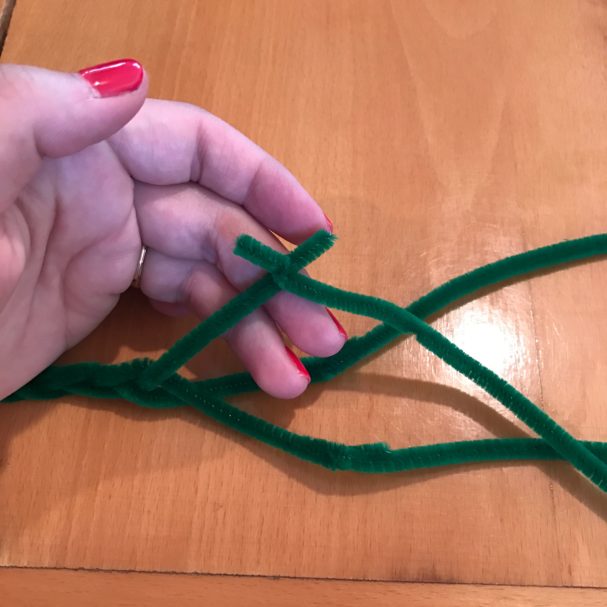
When Braid Is close to end, take three new Pipe Cleaners and twist each one to an end.
I only twist once and then lay the ends down.
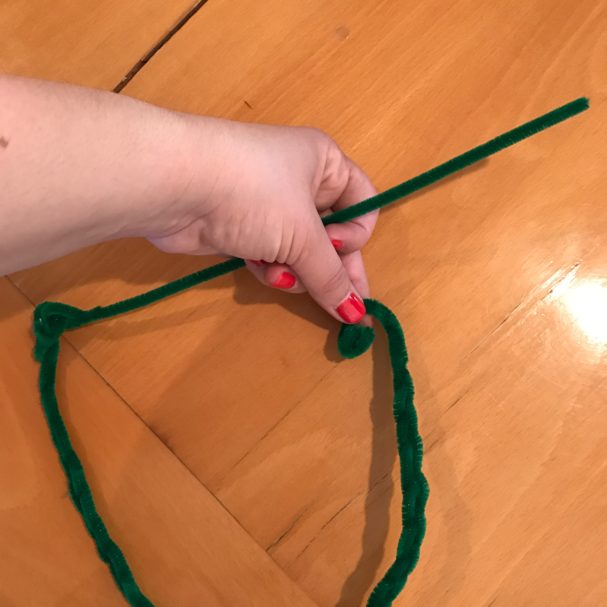
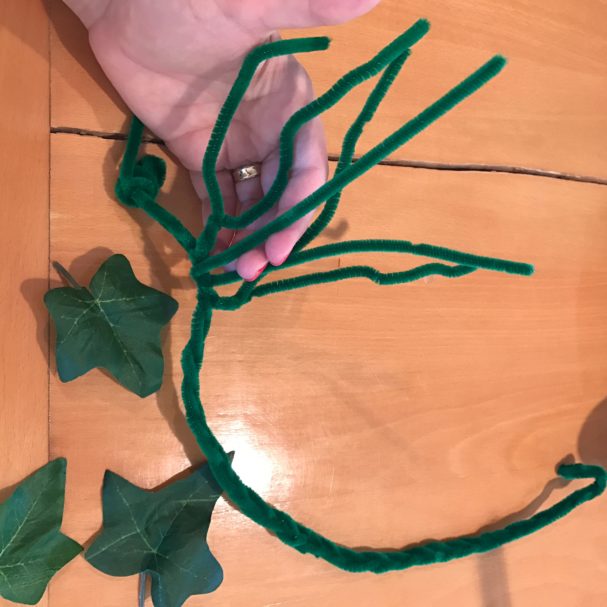
On the beginning edge of Braid I created a circle and twisted it to secure and on the other side I curved it into a hook. Take an extra Pipe Cleaner and connect the two edges of Braid with twisting one side to the circle edge and the other side we will create a circle (twist to secure) to attach and detach from the Braid’s hook. Measure your head to see how short you want the straight pipe to be and twist and Secure whatever’s left.
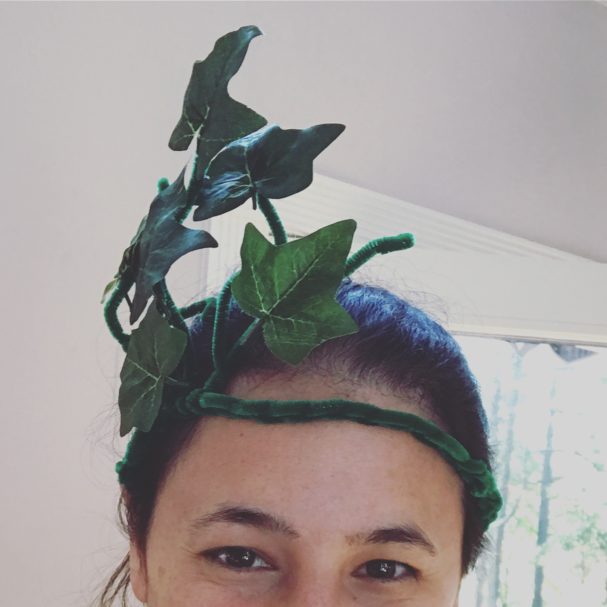
add 3/4 Pipe Cleaners to one side of the Headpiece by folding them in half and inserting them through the braid. Glue as many Plastic Leaves as you want to them and bend them as desired.
Headpiece is Ready!
Hope you enjoyed the Tutorial!
Feel free to comment, share and ask!
